Homemade Reese’s Cups Recipe
Uitgelicht onder: Dagelijkse bakcollectie
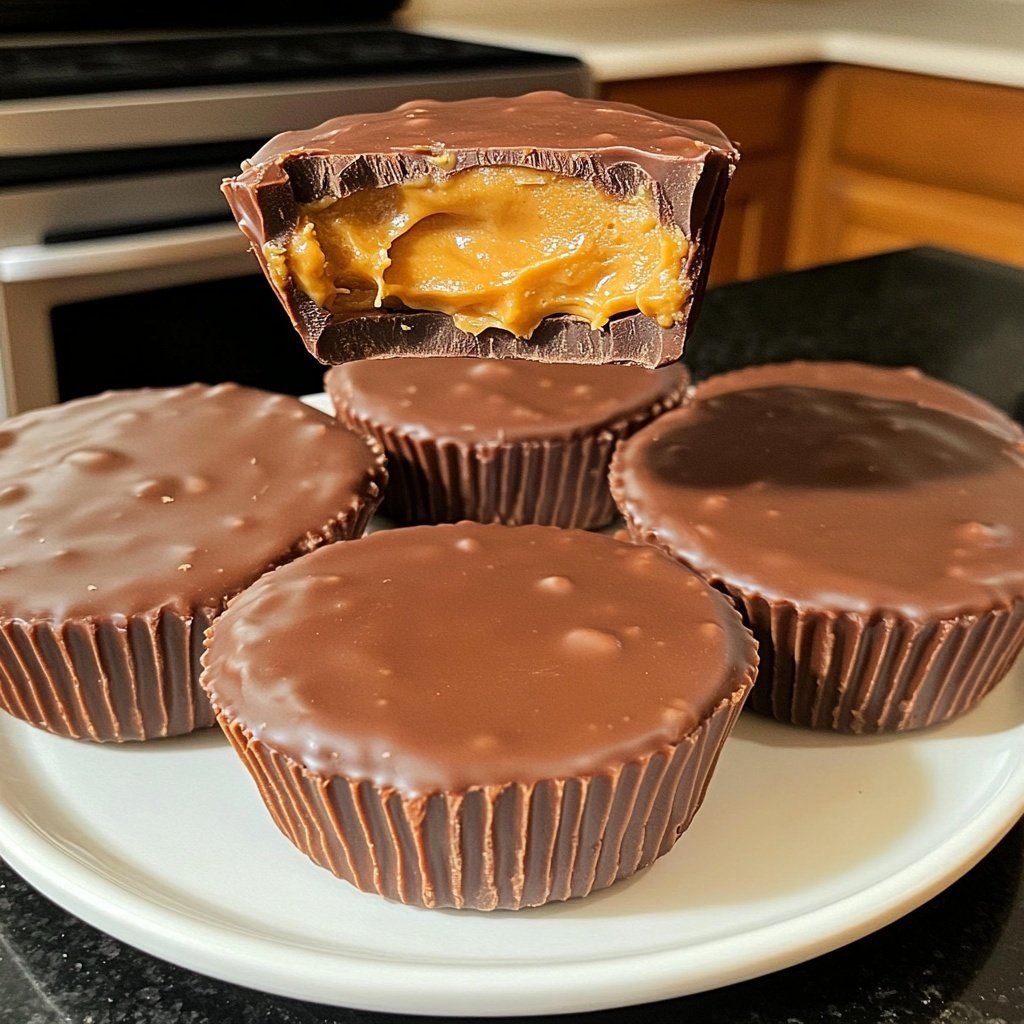
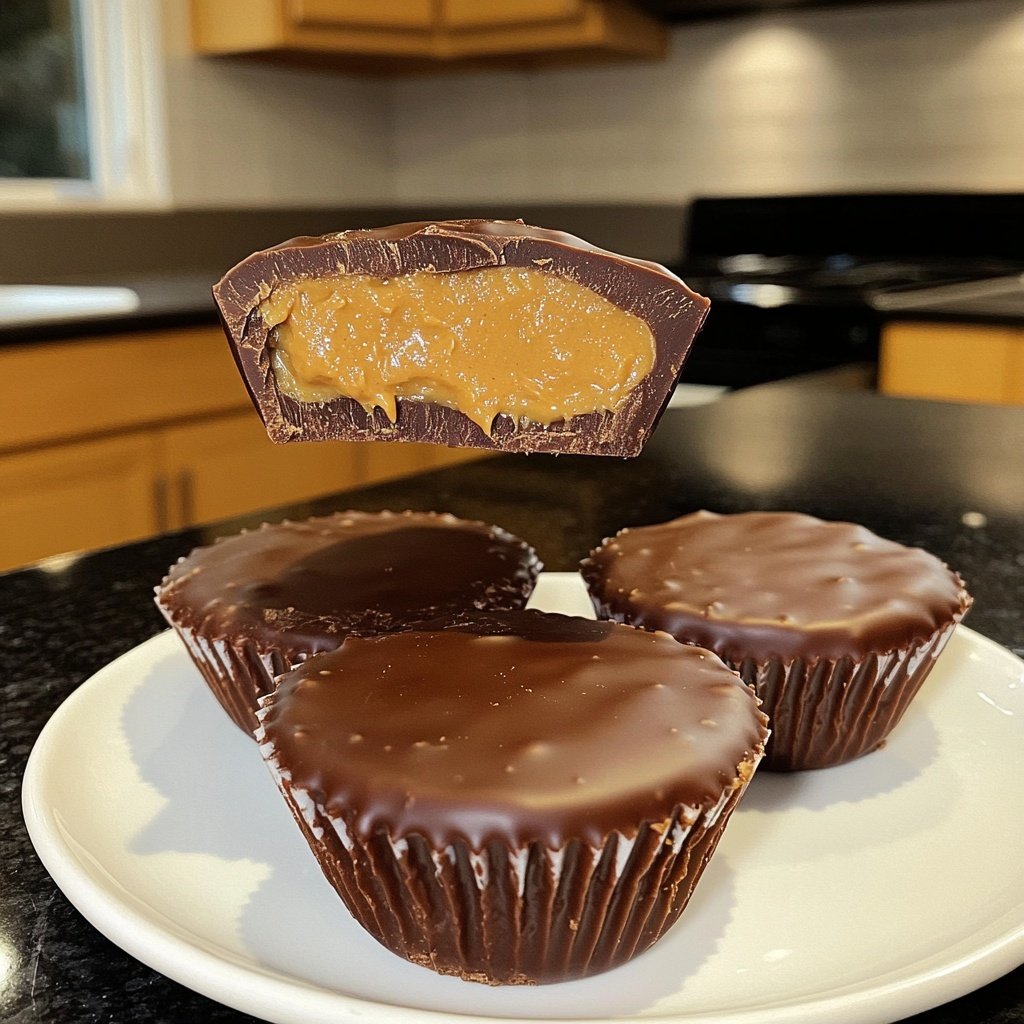
Indulge in the rich, creamy goodness of homemade Reese’s Cups. Perfect for satisfying your sweet tooth or sharing with loved ones.
Making your own Reese’s Cups at home is not only fun but also incredibly rewarding. With just a few simple ingredients, you can recreate this classic treat in your kitchen!
Why You'll Love This Recipe
- Rich chocolate flavor paired with creamy peanut butter
- Customizable sweetness and thickness to your liking
- Perfect for celebrations or as a sweet indulgence
The Joy of Making Your Own Candies
Creating your own candies at home can be a rewarding experience. Not only do you get to enjoy the process, but you also have complete control over the ingredients. Homemade treats often taste better than store-bought options because you can customize them to your liking, choosing the sweetness and richness that suits your palate. Plus, sharing these homemade delights with friends and family adds a personal touch that store-bought candies simply can't match.
When you make your own Reese’s Cups, you're not just crafting a delicious treat; you're also creating memories. Whether it's a rainy day activity with the kids or a fun date night in, this recipe brings joy and satisfaction. The thrill of melting chocolate and mixing peanut butter can turn an ordinary day into something special. So gather your loved ones and enjoy the process of making these delightful cups together.
Perfect for Any Occasion
Homemade Reese’s Cups are incredibly versatile, making them suitable for a wide range of occasions. Whether you're celebrating a birthday, hosting a party, or simply indulging in a sweet treat after dinner, these cups fit right in. Their rich flavor and delightful texture are sure to be a hit with guests of all ages. You can even personalize them for holidays by adding festive decorations or flavors, making them a perfect gift or party favor.
Additionally, these cups are great for meal prepping. You can whip up a batch ahead of time and store them in the freezer. This way, you’ll have a delicious treat on hand whenever a craving strikes. With just a few simple ingredients and minimal effort, you can enjoy gourmet-style candies without the hassle of a candy shop.
Storing and Serving Suggestions
After you’ve made your homemade Reese’s Cups, it's essential to store them properly to maintain their freshness. Keep them in an airtight container in the refrigerator for up to two weeks or in the freezer for several months. If freezing, place parchment paper between layers to prevent sticking. When you're ready to enjoy them, simply take them out and let them sit at room temperature for a few minutes to soften slightly.
For serving, consider pairing these sweet treats with a glass of cold milk or a warm cup of coffee. The combination of flavors and textures will enhance your tasting experience. You can also chop them up and use them as a topping for ice cream or mix them into baked goods for an extra layer of flavor. The possibilities are endless, making these cups a fantastic addition to any dessert table.
Ingredients
For the Peanut Butter Filling
- 1 cup creamy peanut butter
- 1/2 cup powdered sugar
- 1/4 cup unsalted butter, softened
For the Chocolate Coating
- 1 1/2 cups semi-sweet chocolate chips
- 1 tablespoon coconut oil
Make sure to use high-quality chocolate for the best flavor!
Instructions
Prepare the Peanut Butter Filling
In a bowl, mix together the peanut butter, powdered sugar, and softened butter until smooth and creamy.
Melt the Chocolate
In a microwave-safe bowl, combine the chocolate chips and coconut oil. Microwave in 30-second intervals, stirring between each, until melted and smooth.
Assemble the Cups
Line a muffin tin with cupcake liners. Pour a small amount of melted chocolate into each liner, just enough to cover the bottom. Freeze for 5 minutes.
Add the Peanut Butter Filling
Remove from the freezer and add a spoonful of the peanut butter mixture on top of the chocolate layer. Flatten it slightly with the back of a spoon.
Top with More Chocolate
Pour more melted chocolate on top of the peanut butter layer to cover it completely. Freeze for an additional 10 minutes until set.
Once set, enjoy your homemade Reese’s Cups!
Professionele Tips
- For a twist, try adding a sprinkle of sea salt on top before freezing.
Tips for Success
To ensure your homemade Reese’s Cups turn out perfectly, use high-quality chocolate chips. The better the chocolate, the richer the flavor of your cups. Semi-sweet chocolate is a popular choice, but feel free to experiment with dark chocolate or even milk chocolate for a creamier taste. Also, be patient when melting chocolate; stirring frequently will help prevent it from burning.
When preparing the peanut butter filling, make sure your butter is softened at room temperature. This will help achieve a smooth and creamy consistency, making it easier to spread over the chocolate layer. If you prefer a sweeter filling, adjust the amount of powdered sugar according to your taste.
Variations to Try
This recipe is highly customizable, so feel free to get creative! You can add crushed nuts, such as peanuts or almonds, into the peanut butter filling for added texture and flavor. For a fun twist, consider incorporating flavored extracts like vanilla or even a pinch of sea salt to enhance the taste profile of your cups.
If you're looking to make a healthier version, try using natural nut butter with no added sugar or oils. You can also substitute the powdered sugar with alternatives like honey or maple syrup, keeping in mind that this may alter the texture slightly. Experimenting with different flavors and ingredients can lead to delightful new variations of your homemade Reese’s Cups.
Vragen Over Recepten
→ Can I use natural peanut butter?
Yes, but natural peanut butter may yield a different texture.
→ How do I store these Reese’s Cups?
Store them in an airtight container in the refrigerator for up to 2 weeks.
→ Can I make these vegan?
Yes, use dairy-free chocolate and a vegan butter substitute.
→ Can I freeze these cups?
Absolutely! They freeze well and can be stored for up to 3 months.
Homemade Reese’s Cups Recipe
Gemaakt door: Rachel Green
Recepttype: Dagelijkse bakcollectie
Vaardigheidsniveau: Easy
Eindportie: 12 cups
Wat je Nodig Hebt
For the Peanut Butter Filling
- 1 cup creamy peanut butter
- 1/2 cup powdered sugar
- 1/4 cup unsalted butter, softened
For the Chocolate Coating
- 1 1/2 cups semi-sweet chocolate chips
- 1 tablespoon coconut oil
Stappen
In a bowl, mix together the peanut butter, powdered sugar, and softened butter until smooth and creamy.
In a microwave-safe bowl, combine the chocolate chips and coconut oil. Microwave in 30-second intervals, stirring between each, until melted and smooth.
Line a muffin tin with cupcake liners. Pour a small amount of melted chocolate into each liner, just enough to cover the bottom. Freeze for 5 minutes.
Remove from the freezer and add a spoonful of the peanut butter mixture on top of the chocolate layer. Flatten it slightly with the back of a spoon.
Pour more melted chocolate on top of the peanut butter layer to cover it completely. Freeze for an additional 10 minutes until set.
Extra Tips
- For a twist, try adding a sprinkle of sea salt on top before freezing.
Voedingswaarde (Per Portie)
- Calories: 380 kcal
- Total Fat: 26g
- Saturated Fat: 15g
- Cholesterol: 195mg
- Sodium: 85mg
- Total Carbohydrates: 32g
- Dietary Fiber: 3g
- Sugars: 24g
- Protein: 6g